
Finding a painter or firm that offers interior home painting services is only the first step in carrying out your project. In order to facilitate the painters’ work, you will need to prepare your home. A positive experience and time and money savings both depend on preparation.
Here are a few actions you may do to make sure painting goes smoothly.
What Does the Homeowner Need To Do?
Move and cover the furniture
When painting a room, you should take out any small hard furnishings like a coffee table or a nightstand. The removal of huge pieces of furniture such sofas, suites, beds, and dining tables and chairs, however, would not be practicable. To accommodate these objects in the interim, a sizable room or storage area will be needed. Instead, place the furnishings in the room’s middle. By doing this, the interior house painter has ample room to move around without running the risk of getting hurt. Cover furniture with a huge cloth or an old sheet as well.
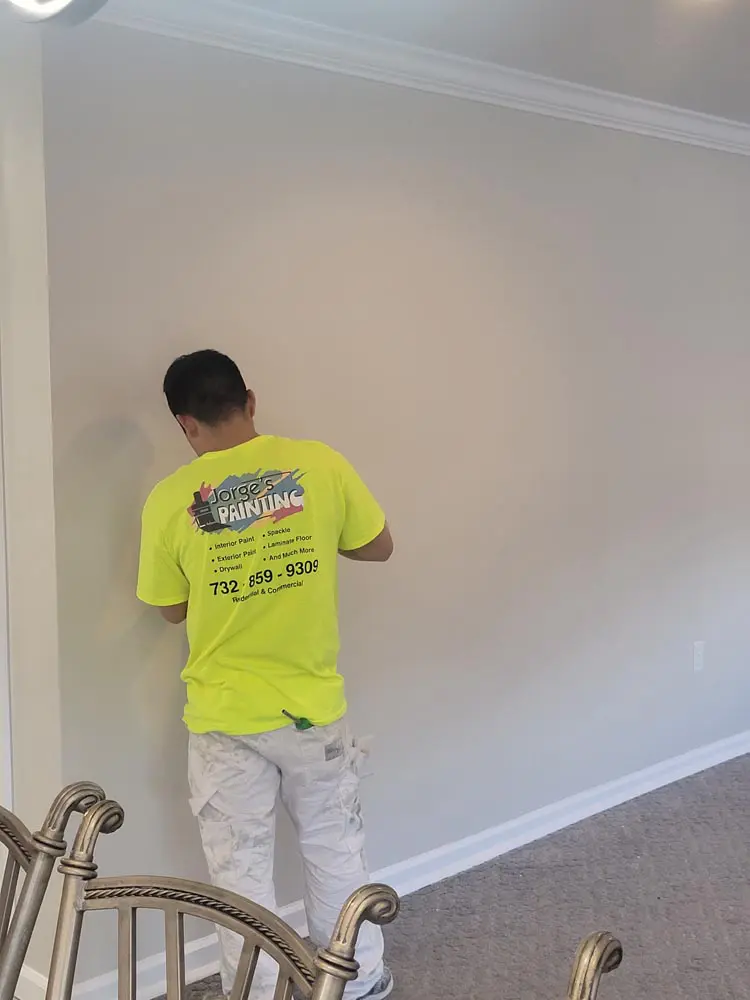
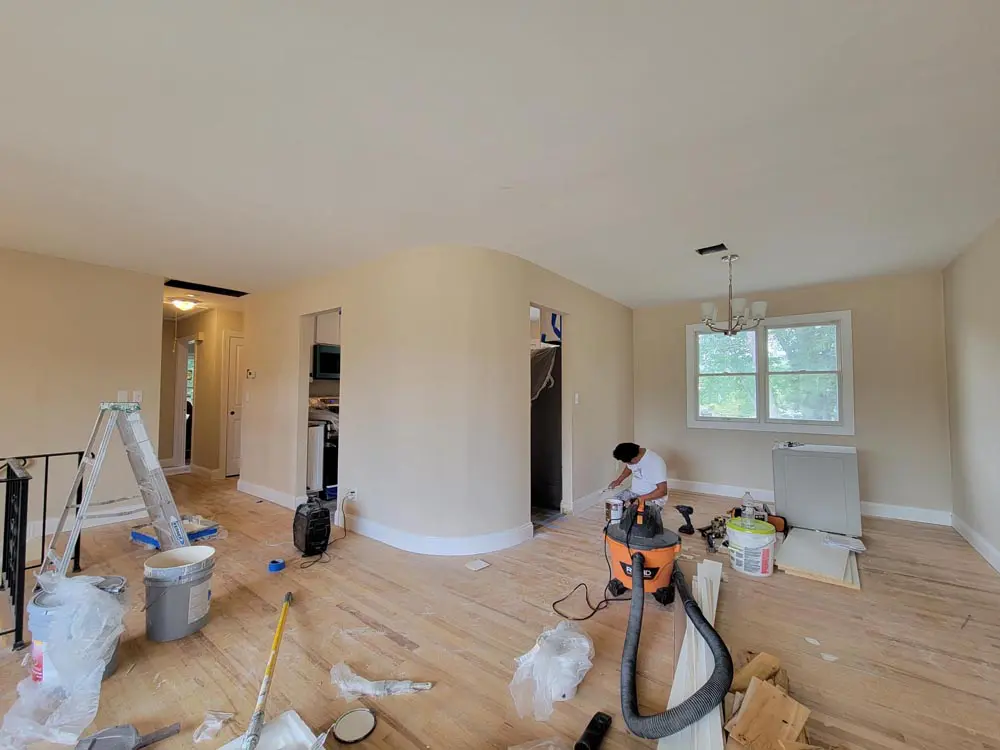
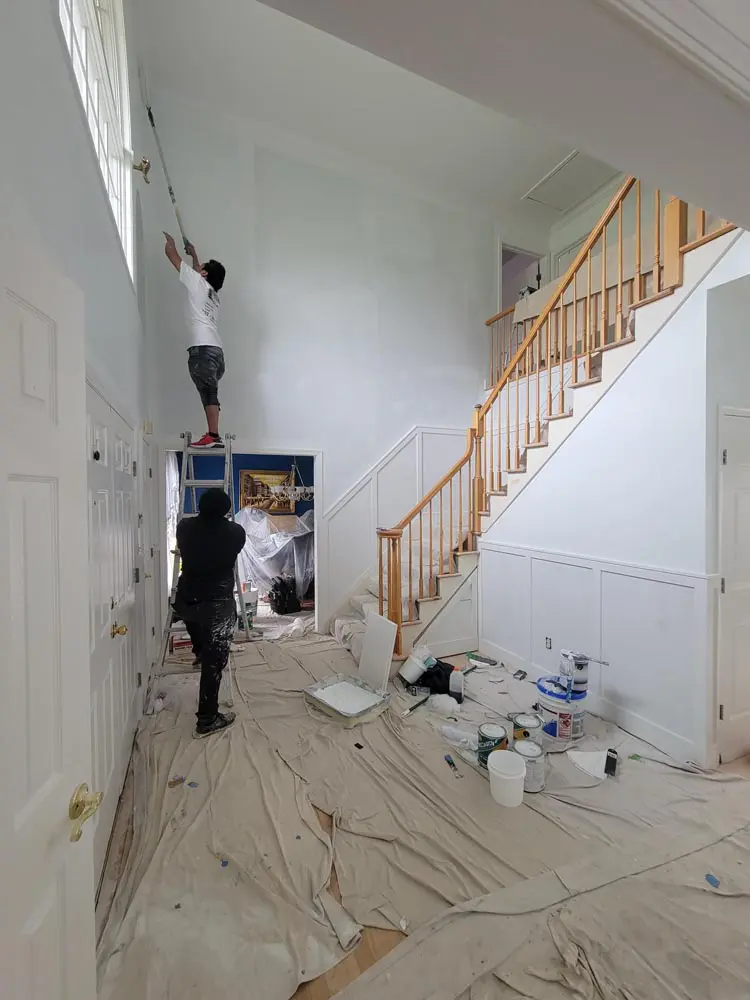
Watch how Jorge’s Painting prepares an home for interior painting in Ocean County, New Jersey
Remove appliances and electronics
The same applies to covering or removing devices and equipment like the television, stereo, game console, stove, and refrigerator. These are pricey items that could be ruined by paint or hurt if the painting staff tries to move them or move them to a different part of the house. There’s no need to worry if you don’t have enough material to completely cover the appliances, electronics, and furniture. Most likely, the inside home painter will bring drop cloths to cover your valuable possessions. Remember that even when these items are covered, like when painting the ceiling, paint might still spill. Therefore, moving everything to another room is usually the wisest course of action.
Décor and wall art
An interior house painter will be hindered when painting the walls by wall hangings and ornaments. Remove all picture frames, artwork, clocks, mirrors, candlesticks, and other wall décor with care. To prevent them from breaking, wrap them in bubble wrap and put them away in clearly designated storage boxes or containers. You might be tempted to gather enormous furniture in the middle or one corner of the room and cover the hangings and ornaments with it. Drops of paint could still find their way to your priceless ornamental items, though. In the end, it might be best to simply move them to a different room.
Remove or Cover soft furnishings.
Rugs and other soft furniture should be taken out of the room and securely stored elsewhere. Additionally, window coverings like blinds, drapes, and curtains need to be removed. Rugs and mats can be rolled up and covered with plastic for added security. Even if the interior house painter is not painting your ceiling, this step is still important. In fact, the more space you remove in the area, the less likely it is that paint will tarnish your household belongings. Additionally, removing furniture and soft furnishings makes it simple to clean the space and prepare the walls for painting.
Remove Knick Knacks and trinkets
Even if it is simple to overlook the little, trinket items, getting rid of them from the work area is important. The next step is to store any little treasures, souvenirs, or ornamental items that you have out on show once you’ve cleaned the walls. Before starting work, an interior house painter will cover your furniture with a drop cloth or tarp to protect it, but little items can get knocked off shelves or get damaged in the process. It is preferable to put them back out after the paint has dry, then store them carefully away before the workers arrive.
Wall Plate Removal
The light switch and outlet covers can all be seen once the furniture has been removed from the walls. Remove them, as well as any return and vent coverings. Although you can opt to paint over or around these objects, it will look far more professional if the wall is painted after they have been removed. This creates a clear visual distinction between the wall and the cover plates. Since these plates are frequently extremely visible, this is an important step. Additionally, if you paint over them, they will be more difficult to take off if you need to remove an outlet cover in the future. This could damage the paint around it causing it to peel and come loose.
When you remove the light switch and outlet covers, you can easily keep track of those tiny screws by taping them to the back of the covers until the painters are finished and the walls are dry. If you do this, it will be easy to reinstall and put them back where they belong once the painting is done.
clean and prep the walls
It’s normal to believe that there is no need to clean your walls because they will soon receive a new coat of paint. Just so you know, cleaning really does make a significant difference and helps more than it hurts! Over time, stains, filth, and dust can accumulate on the walls. Even if you can’t see them with your own eyes, you can bet that once the walls are painted, they will be easier to see. These things will adhere to the paint and end up staying on the wall for good. Spend some time cleaning the walls instead. To dust and clear cobwebs from the walls and ceiling, use a long-handled broom or a small vacuum. Clean up any lingering dirt and stains using water, detergent, and a sponge. In order to give the walls enough time to completely dry before the interior house painting contractor shows up, it is preferable to do this few days in advance.
Ceiling and Lighting Fixtures
When preparing a home’s interior for painting, don’t overlook the ceiling! Additionally, ceiling lighting and fans require attention. Remove the fan blades and place plastic over the fixture. Remove the bulb from recessed lights and slightly lower the trim around the fixture. Then cover it with plastic and tape.
Vacate The Area
You and your family will be unable to use the living spaces while they are being painted for a while. In some situations, you might have to leave the room or possibly the entire house. Plan ahead and make sure you bring everything you’ll need to utilize that you might find challenging to access once painting starts. To avoid accidently tipping paint cans over or getting paint on oneself, keep kids and pets away from the work area. It can be a good idea to spend the time away at a relative’s house or even take a brief vacation if the entire house is being painted. You won’t have to breathe in paint fumes while you and your family are away, especially if you have young children.
Professional House Painters Prep Before They Begin
After the homeowner has done their part, the painting company will assess what still needs to be done according to the way they work. They likely have their own list of steps that need to be completed before they can start cutting in the corners, around the windows and rolling or spraying on the paint. To have the job done right, they will unscrew outlet and light switch covers and and cover the floors and windows with plastic and drop cloths to make sure the new paint is only applied to the walls and areas that you want.
Additional steps Professional Painters will take to prep your space before painting begins include the following:
Cleaning
If accumulated dirt is an issue, clean the walls. Any common detergent will function. If there is a lot of grease or cigarette smoke buildup, use TSP (Tri Sodium Phosphate).
Scraping
Remove any loose paint using a scraper or spackle blade, and then sand down any sharp ridges where the paint has peeled off
Spackle
Fill in gaps, fissures, and ridges of thick paint with spackle.
Texture
Your patch should closely match the texture of the original wall if it has a texture other than smooth.
Sealing
To seal joints around door jambs, window casings, and baseboards, use interior caulk. Multiple applications may be necessary for wide and deep cracks. Any extra caulk should be removed using a moist rag.
Sanding
Sand glossy surfaces or apply liquid sandpaper to them. This creates a surface that has been roughened or given “teeth” to help a subsequent layer adhere well.